

Shock Absorber Oil Seal Manufacturer Explains How to Choose a Seal That Lasts Longer
2026-11-22
Every suspension rebuild eventually comes down to one overlooked part: the shock absorber oil seal. Choose wrong and a fresh set of shocks can start weeping fluid within weeks. XIAYI has spent years watching seals fail early for avoidable reasons, and this guide breaks down what actually separates a seal that survives from one that gives up quietly.
Match the Seal Compound to the Oil and Operating Temperature
A nitrile seal that holds up fine in a lukewarm hydraulic system can turn brittle within weeks once the same oil runs at sustained high temperature. Matching the compound starts with knowing the actual continuous operating temperature at the seal lip, not just the bulk oil temperature shown on the reservoir gauge. Friction and pressure loading often push the seal contact zone higher, so a margin of 15 to 25 degrees Celsius above the expected reading is usually the safer baseline.
Oil chemistry matters as much as heat. High-additive gear oils, synthetic esters, and heavily detergent engine oils can attack compounds differently even when their viscosity grades look similar. Where NBR covers many mineral oil applications, HNBR generally handles hotter, more aggressive oil with better wear resistance. FKM works well for high-temperature mineral and synthetic oils but can stiffen badly in cold starts. For very low temperatures or wide swings, VMQ or specialty fluorosilicone may be the only practical choices, though they come with trade-offs in abrasion resistance and cost.
The practical step is to check the oil specification first, then list the coldest startup temperature and the hottest stabilized running condition. Select a compound that satisfies both ends without relying on a single heat rating. If the material datasheet only gives a short-term maximum, treat continuous service as a separate requirement. A mismatch usually shows up first as hardening, cracking, excessive swelling, or leakage after thermal cycling, so field testing with the actual lubricant is still the most reliable confirmation.
Look Beyond the Outer Diameter for a True Fit
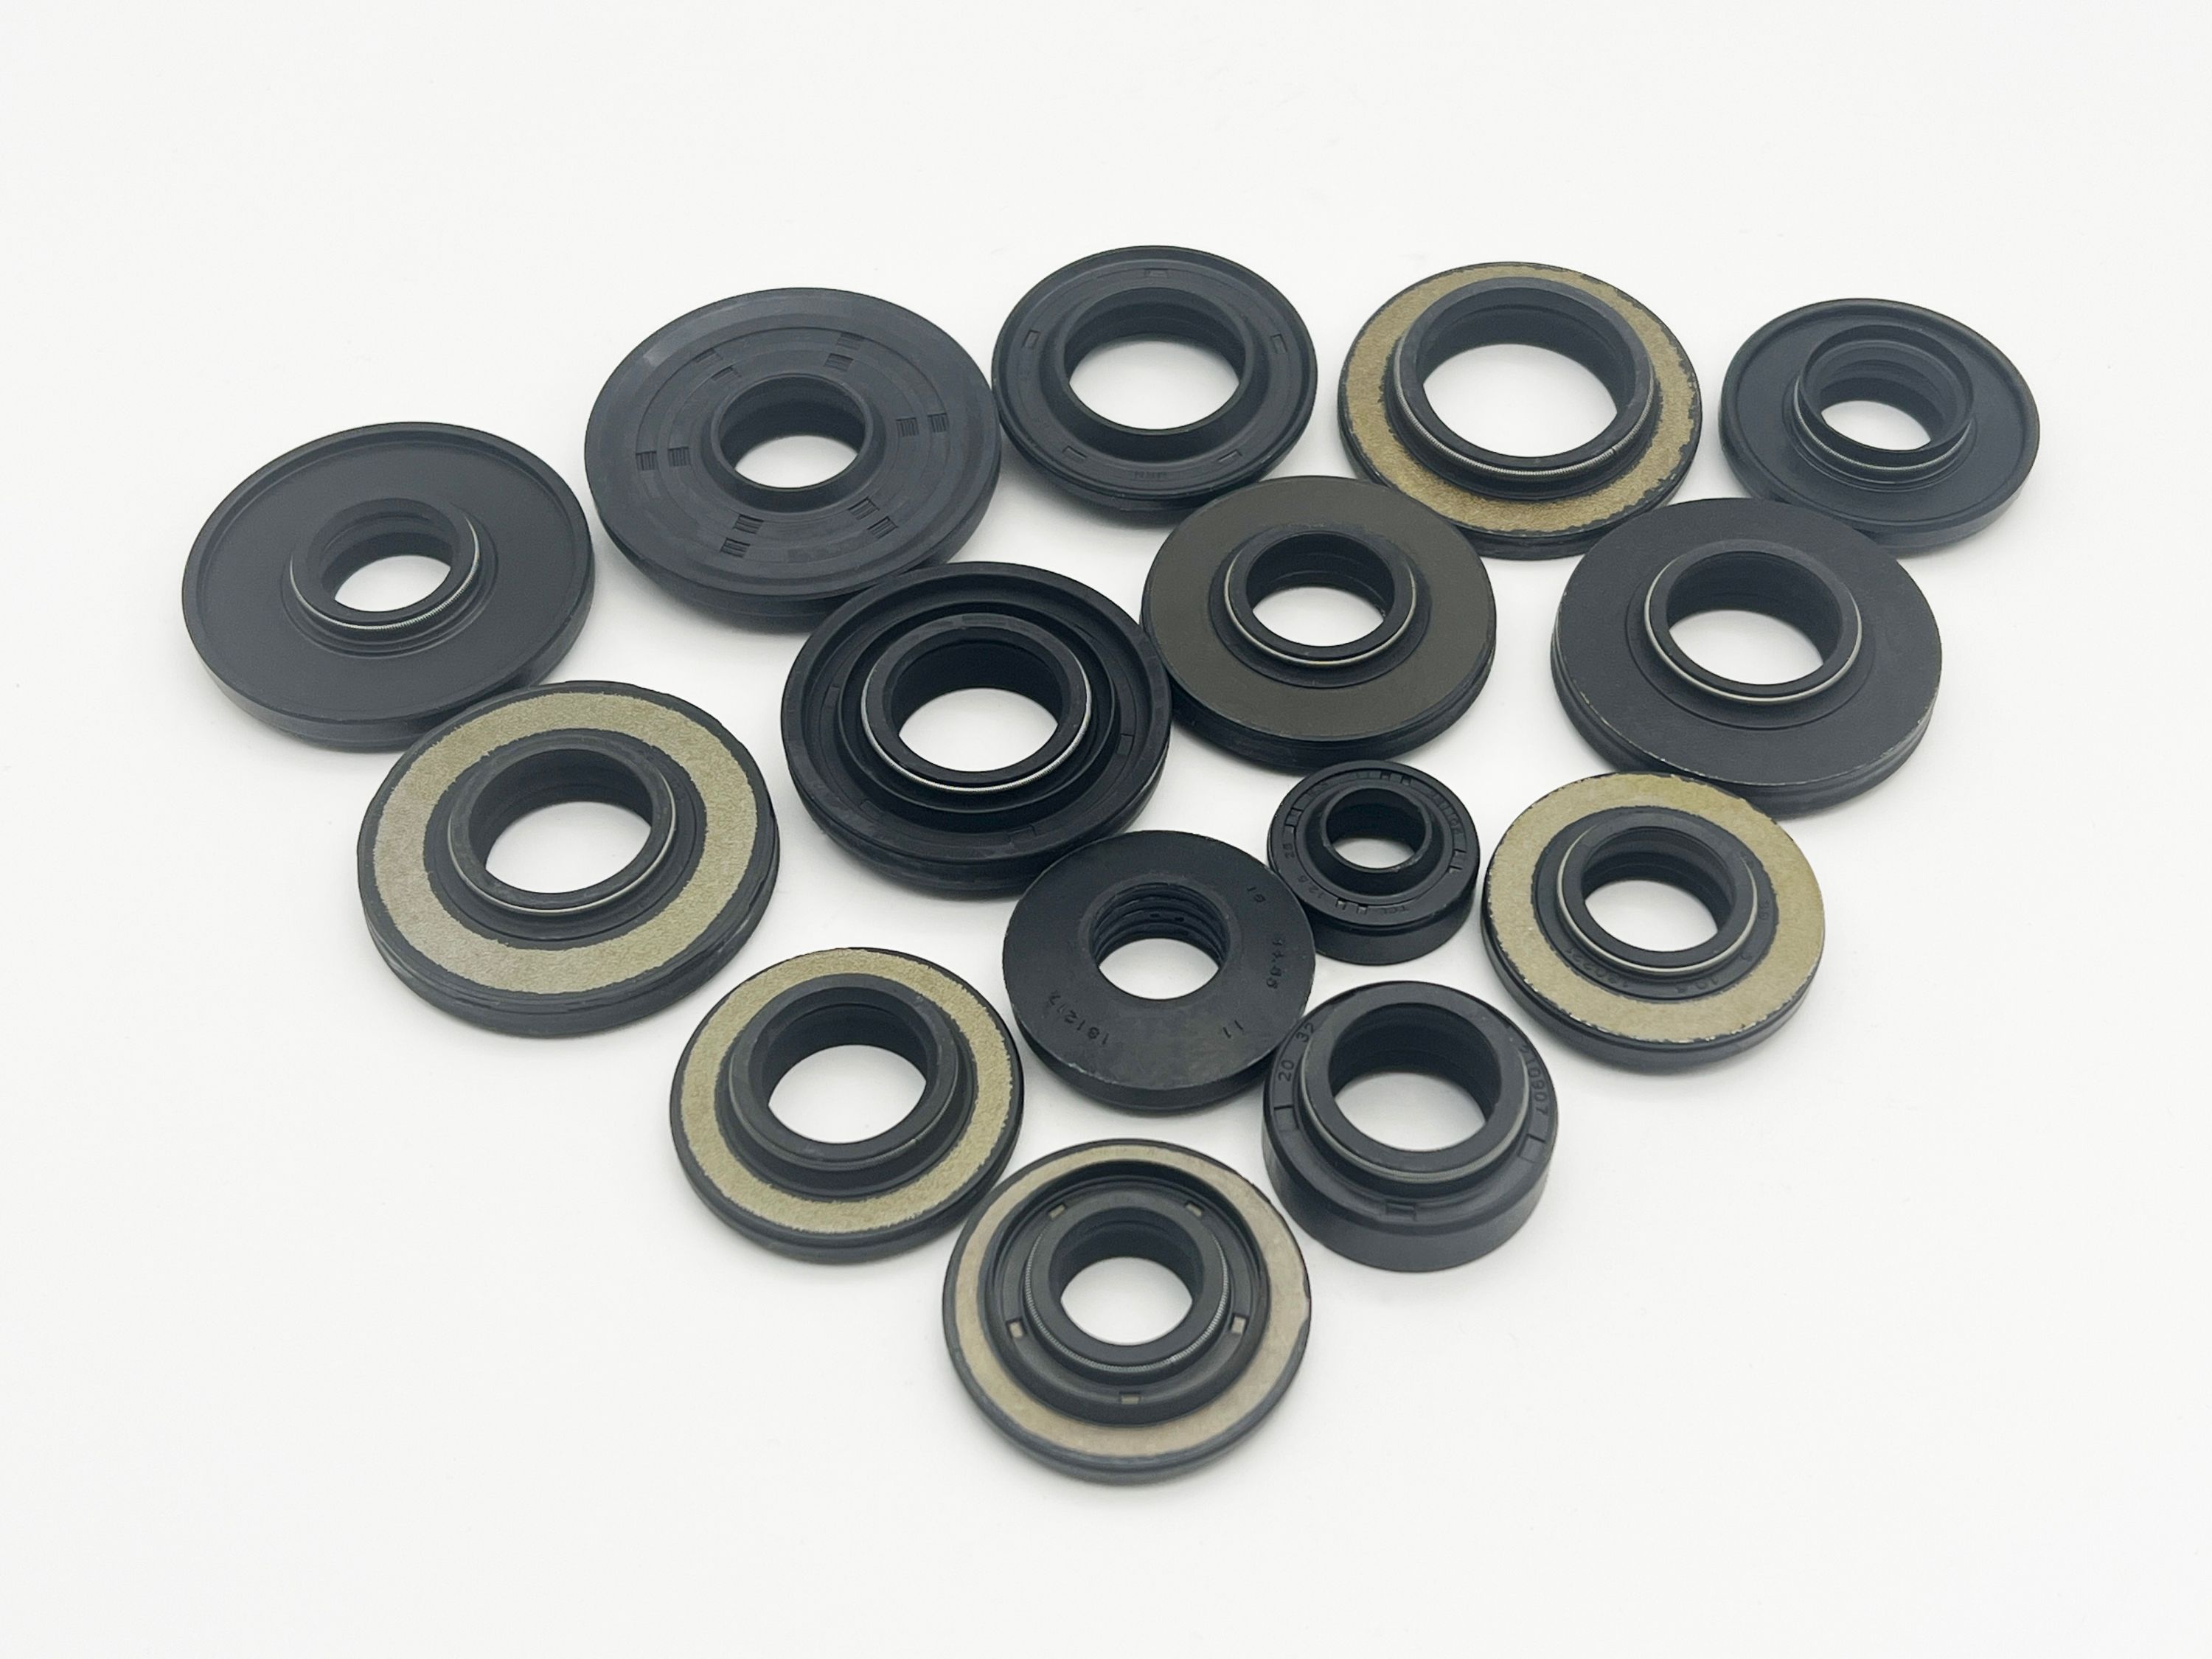
Plenty of people still size a replacement by checking the outside diameter and calling it done. That habit misses what actually keeps a part stable once it is under load. The seat geometry, bore depth, corner radius, and even small surface imperfections can change the way pressure distributes around the entire assembly. A part that measures right on the OD can still shift, leak, or wear unevenly because the rest of the profile was never considered.
The outside diameter is only the most visible boundary, not the whole fit. Components with the same OD often sit differently if the cross-section is slightly thinner, the hardness is off by a few durometer points, or the mating groove has a steeper draft. These subtle differences tend to show up after installation, not during a quick bench check. That is why a more useful check starts with the full contour and the working environment, not just the outer number.
A practical approach is to treat the OD as one input among several. Look at how the inner surface meets the shaft, whether the material has enough room to deform without extruding, and how the whole assembly behaves when temperature and pressure rise. Sometimes the fix is not a larger OD but a slightly softer compound or a different cross-section shape. That kind of adjustment comes from reading the full fit, not from chasing a single measurement.
Lip Design and Spring Tension Are the Real Lifesavers
Most seal failures are blamed on torn rubber or a scored shaft, but the quieter truth is that lip geometry and spring load usually decide whether the part survives the first thousand hours. A lip that is too stiff can shave itself down on a slightly rough journal, while one that is too soft folds instead of wiping cleanly. Neither defect announces itself until fluid starts creeping through.
Spring tension matters less as brute force and more as a follow-up mechanism. Under thermal cycling the lip takes a set or hardens slightly, and the garter spring has to keep the contact band narrow and evenly loaded. If radial force drops even a little, the seal can look untouched while still allowing a slow wet film to form around the shaft at idle.
That is why experienced mechanics inspect the lip edge under magnification and check spring elongation before blaming installation. Tossing an otherwise intact seal because nobody verified the spring tension or lip profile is a common waste. Getting those two details right often does more to extend service life than switching to a pricier material.
Why a Clean Installation Adds More Miles Than Any Upgrade
A clean installation strips away years of accumulated digital clutter—orphaned registry entries, leftover driver fragments, and half-removed software that quietly tax your vehicle's electronic systems. Unlike an upgrade that layers new code over existing rough edges, a fresh ECU flash or infotainment reinstall resets calibration tables, throttle maps, and sensor baselines to factory-neutral values. This often unlocks overlooked efficiency gains that no patch can replicate, simply because the old corrupted state never gets the chance to interfere.
The real mileage benefit shows up in subtle places: faster cold-start enrichment settling, more precise fuel trims across varying loads, and transmission shift logic that no longer compensates for stale adaptation data. Over time, these small corrections add up—especially in stop-and-go traffic where every hesitation burns extra fuel. Drivers who assume their aging vehicle simply feels worn out are often surprised at how snappy and frugal it becomes after a clean slate, because the hardware was never the limiting factor.
That said, the value depends heavily on doing the job properly. A rushed reset without clearing learned parameters, or reinstalling from a corrupted backup, can leave things worse than before. The tedious work of backing up personal settings, verifying checksums, and patiently running through drive cycles afterward is precisely why many skip it. Yet for anyone chasing real-world miles per gallon rather than dyno-sheet bragging rights, that effort usually delivers more than stacking another generic performance tune on a messy foundation.
Spot Early Wear Before It Destroys the Shock
Most shocks don't fail in a single day. They bleed off damping force slowly, and the first hints show up as a soft, floating feel over dips or a nose-heavy lurch when you brake gently. If the ride starts feeling busy on smooth pavement, that's usually the shock asking for attention long before it becomes dangerous.
Look at the shock body for a light film of oil, not just a dripping leak. A faint damp ring around the shaft seal often appears weeks before any clunk. Then check the tire tread by running your hand across it; scalloped or cupped patches on the inner shoulder mean the wheel is being allowed to hop instead of staying planted.
Push down hard on each corner of the vehicle and release. One clean rebound is fine. Two or more bounces tell you the shock has already lost enough control to accelerate wear in the suspension bushings and ball joints. Catching it at this stage usually saves more than just the shock.
Ask the Manufacturer the Questions That Reveal Quality
Most factories will tell you they have strict quality control, but the real test is how they answer specific questions about defects, tolerances, and what happens when something goes wrong. Ask for the rejection rate on the last three production runs, not the annual average. If they hesitate or give you a range that seems too clean, dig into what they do with units that fail inspection.
Pricing usually hides the first clue. When a quote comes in far below others, ask which materials, finishes, or components were swapped to reach that number. A manufacturer that can explain the trade-offs without being defensive is often more reliable than one that insists everything is "premium" without detail.
Finally, request the contact information for a client who stopped ordering from them. Every manufacturer has at least one. The way they respond to that request tells you more about their consistency and honesty than any sample they send. A good partner will own a past failure and explain what changed.
FAQ
Start with shaft finish, housing bore tolerance, and the actual fluid being used. If the shaft has any scoring or the bore isn't round within the seal manufacturer's recommended range, even a premium seal will leak early. The fluid's additive package also matters more than most people expect, since some additives attack standard nitrile compounds.
Nitrile isn't one recipe. Different acrylonitrile content, plasticizer choices, and curing systems change heat resistance, low-temperature flexibility, and compression set. A cheap general-purpose nitrile will harden and lose lip contact after a season, while a properly formulated shock absorber grade keeps the lip lively for much longer.
Plenty. The case has to hold the outside diameter without distorting during press-in. A thin or poorly chamfered case can buckle, which tilts the sealing lip and causes uneven wear. Look for a case with a controlled OD tolerance and enough rigidity to stay round in an aluminum housing when temperatures swing.
In almost every off-road or high-mileage application, yes. The main lip handles oil retention, but the dust lip prevents road grit, dried mud, and brake dust from reaching the main lip. Once debris embeds in the primary lip, it acts like fine sandpaper on the shaft.
It depends on shaft condition and heat load, but a seal matched to the actual stroke speed and temperature usually outlasts a generic replacement by two to three times. The bigger gain isn't just the seal itself; it's that the shock keeps consistent damping because oil isn't slowly disappearing or taking in air.
Don't reuse a used garter spring. It may look fine, but its tension drops with heat and fatigue, and once the radial load falls below the minimum needed for lip contact, the seal leaks despite looking new. The spring also needs to be seated correctly in the groove during installation, otherwise it can pop off and spin inside the dust lip.
Heat is a major factor, but it's rarely the only one. Frequent short strokes can scrub away the oil film and create micro-tears, while air mixed into the oil raises local temperatures at the lip. A seal should be selected with enough heat margin for the worst-case shaft temperature, not the average running temperature.
For most rebuilds, a twin-lip design with a well-formed dust lip is safer, especially if the vehicle sees wet weather or dirt roads. A single-lip may offer slightly less friction, but that small gain is usually not worth the risk of contamination cutting the main lip. Match the design to the intended use rather than chasing the lowest drag.
Conclusion
Choosing a shock absorber oil seal that holds up starts well before you look at dimensions. The first thing worth checking is whether the rubber compound can handle the actual oil and the heat the shock will see; a seal that works fine in mild conditions may harden or swell once temperatures climb and additives attack the material. Fit matters just as much as the compound, because the outer diameter alone will not tell you if the seal seats correctly against the tube or body. Small variations in the groove finish, housing roundness and press fit can let oil creep past even when the size sounds right. The lip design and spring tension are where the real sealing work happens, so it is not enough to pick a part with the same outer shape. A well-chosen lip profile keeps the shaft wet without letting oil escape, while the spring maintains steady pressure as the shock cycles and the lip wears.
What happens during installation often decides whether a good seal reaches its expected life. Clean hands, clean tools and a clean bore prevent tiny scratches and dirt from turning into leakage paths. Taking time to lubricate the lip and press the seal in straight adds more service life than most expensive upgrades ever will. Once the shock is in use, periodic checks around the shaft and body can show early sweating, uneven wear or small cuts before they ruin the internals. Finally, do not hesitate to ask the manufacturer direct questions about compound testing, lip geometry and recommended tolerances. Suppliers who answer with real data instead of general promises tend to produce seals that survive longer in demanding conditions.
Contact Us
Contact Person: Leela
Email: [email protected]
Tel/WhatsApp: 8613586885132
Website: https://www.xiayishockparts.com